Custom Gaming PC Build Guide
A step-by-step overview of planning and assembling a custom gaming PC, from component selection to first boot.
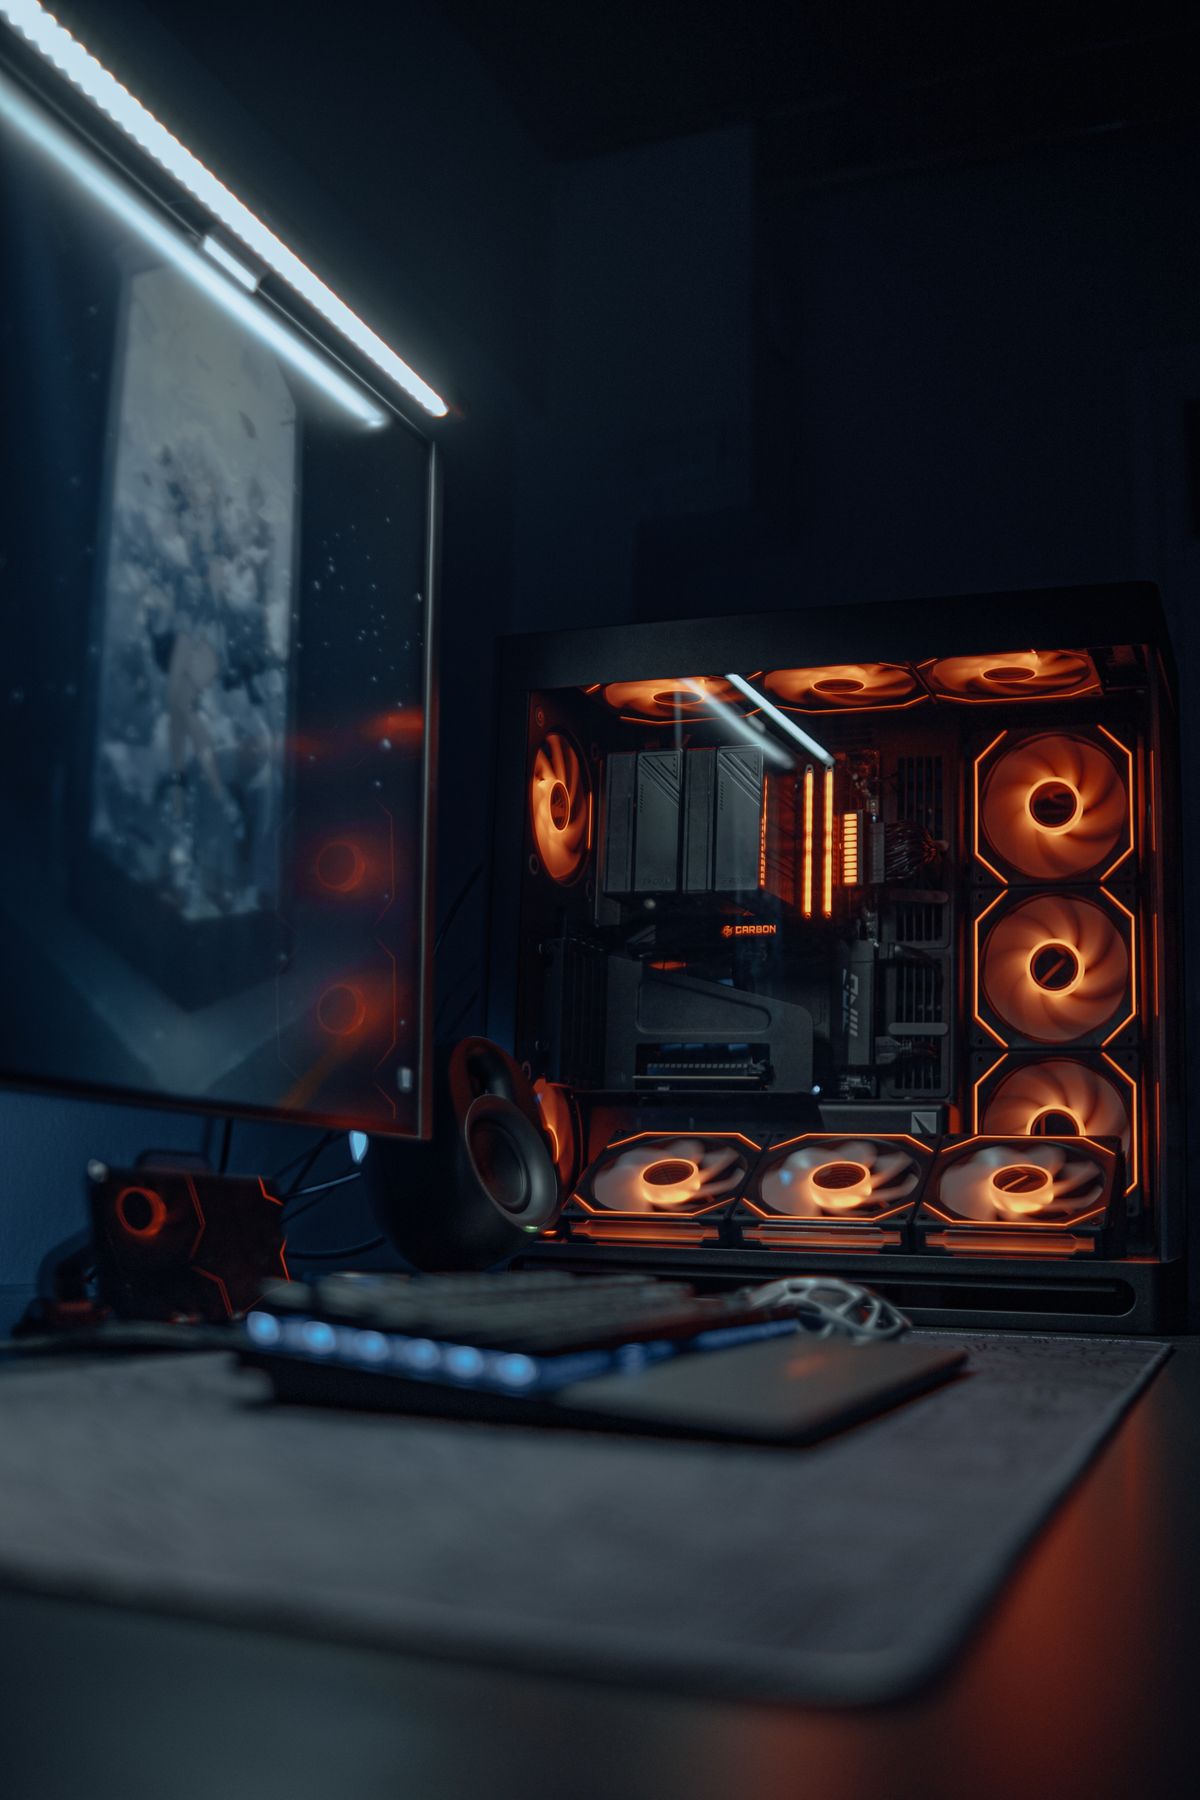
Building your own gaming PC is the best way to get the most performance for your budget — and it's genuinely less complicated than most people expect. This guide walks through the full process: planning, compatibility, recommended component tiers, assembly, and first-boot setup.
What You Actually Need (Tools and Basics)
You need exactly one tool: a Phillips #2 screwdriver. That's it. Everything else in a modern PC build — CPU, RAM, GPU, SSD — clicks into place or uses standard screws. Optionally useful: an anti-static wrist strap (not strictly required on modern carpeted surfaces if you ground yourself first), and zip ties for cable management.
Budget about 2–4 hours for your first build. Nothing goes together at the speed of YouTube tutorials the first time.
Understanding Compatibility Before You Buy
The biggest compatibility mistake first-time builders make is mixing incompatible components. Here's what must match:
CPU ↔ Motherboard (socket type):
- AMD Ryzen 5000 series (5600, 5700X, 5900X): requires AM4 socket, B450 or B550 motherboard
- AMD Ryzen 7000 series (7600X, 7800X3D, 7900X): requires AM5 socket, B650 or X670 motherboard
- Intel 12th/13th/14th Gen (i5-12400F, i5-13600K, i7-14700K): requires LGA1700 socket, B660, B760, Z690, or Z790 motherboard
RAM ↔ Motherboard (memory type):
- AM4 boards: DDR4 (most common) — do not use DDR5
- AM5 and LGA1700 boards: check the spec sheet — most support DDR5, some budget B660/B760 boards support DDR4
- Always install RAM in the correct dual-channel slots (usually A2 + B2, not A1 + B1 — check your manual)
GPU ↔ Case (clearance):
- High-end GPUs (RTX 4080, RX 7900 XTX) can be 340–360mm long. Verify your case's "max GPU length" spec before buying.
PSU ↔ GPU (wattage):
- Use the GPU manufacturer's recommended minimum wattage, then add 100W of headroom. An RTX 4070 recommends 650W — get a 750W unit.
Use PCPartPicker.com to check compatibility automatically. It catches most common mismatches and flags power warnings.
Recommended Builds at Three Price Tiers
Tier 1 — $600 Budget Build (1080p)
| Component | Pick | Price |
|---|---|---|
| GPU | AMD RX 7600 8GB | ~$240 |
| CPU | AMD Ryzen 5 5600 | ~$100 |
| Motherboard | MSI PRO B550M-VC WiFi | ~$80 |
| RAM | G.Skill Ripjaws V 16GB DDR4-3600 | ~$45 |
| Storage | WD Blue SN580 1TB NVMe | ~$65 |
| PSU | Corsair CV550 550W 80+ Bronze | ~$55 |
| Case | Fractal Design Focus G | ~$60 |
Best for: 1080p/60fps AAA, 1080p/144fps esports. See our full $600 build guide for benchmark breakdowns.
Tier 2 — $900 Mid-Range Build (1080p/1440p)
| Component | Pick | Price |
|---|---|---|
| GPU | NVIDIA RTX 4060 Ti 8GB | ~$350 |
| CPU | AMD Ryzen 5 7600 | ~$190 |
| Motherboard | MSI PRO B650M-A WiFi | ~$130 |
| RAM | Corsair Vengeance 16GB DDR5-5200 | ~$70 |
| Storage | Samsung 990 Evo 1TB NVMe | ~$80 |
| PSU | Corsair RM750e 750W 80+ Gold | ~$90 |
| Case | Lian Li LANCOOL 216 | ~$90 |
Best for: Solid 1440p/60fps in AAA, 1080p/144fps+ in everything. The RTX 4060 Ti brings DLSS 3 frame generation for future-proofing.
Tier 3 — $1,200 High-End Build (1440p/4K)
| Component | Pick | Price |
|---|---|---|
| GPU | NVIDIA RTX 4070 Super 12GB | ~$550 |
| CPU | AMD Ryzen 7 7700X | ~$270 |
| Motherboard | ASUS ROG STRIX B650-A | ~$180 |
| RAM | G.Skill Trident Z5 32GB DDR5-6000 | ~$110 |
| Storage | Samsung 990 Pro 2TB NVMe | ~$140 |
| PSU | Seasonic Focus GX-850 850W 80+ Gold | ~$110 |
| Case | Fractal Design North | ~$120 |
Best for: 1440p/144fps in AAA, 4K/60fps in most titles. The RTX 4070 Super handles demanding games with quality DLSS scaling.
Step-by-Step Assembly Guide
Step 1: Prepare your workspace
Clear a large, clean table. Keep components in their anti-static bags until you're ready to install them. Ground yourself by touching a metal surface (or use an anti-static wrist strap).
Step 2: Install the CPU
Open the motherboard box on a flat surface. Open the CPU socket lever, align the CPU's triangle mark with the socket corner triangle, and gently drop it in — do not press. Lower the lever. No force needed if aligned correctly.
Step 3: Install the CPU cooler
Apply a pea-sized amount of thermal paste to the center of the CPU (most aftermarket coolers come with paste pre-applied — don't double up). Mount the cooler per its manual. Tighten screws in an X pattern, not around the circle.
Step 4: Install RAM
Insert sticks in the A2 and B2 slots (check your motherboard manual — these are typically the 2nd and 4th slots from the left). Press firmly until the clips click on both ends.
Step 5: Install the M.2 NVMe SSD
Locate the M.2 slot on the motherboard (usually below the CPU, sometimes covered by a heat shield). Remove the shield, slide the SSD in at a 30-degree angle, press it flat, and secure with the small screw.
Step 6: Prepare the case
Remove the side panels. Install the I/O shield (the metal plate that comes with the motherboard — it snaps into the case's rear opening). Install case standoffs if they aren't pre-installed; these are the brass spacers that prevent the motherboard from shorting against the case.
Step 7: Mount the motherboard
Lower the motherboard into the case, align the I/O ports with the shield, and line up screw holes with standoffs. Screw in all standoff screws — don't overtighten.
Step 8: Install the PSU
Slide the PSU into the bottom mount (or rear, depending on case). Secure with four screws. Route the cables you'll need: 24-pin ATX (motherboard power), 8-pin CPU EPS (near the top of the motherboard), and PCIe cables for the GPU (usually 8-pin or 16-pin cables depending on GPU).
Step 9: Connect all cables
- 24-pin ATX to the large motherboard connector
- 8-pin CPU EPS to the top-left corner connector (this is the most commonly forgotten cable — missing it = no boot)
- PCIe power to the GPU
- SATA power to any SATA drives
- Front panel headers (power button, reset, USB, audio) — these tiny connectors attach to pins on the lower-right area of the motherboard; your manual has a diagram
Step 10: Install the GPU
Remove the PCIe slot covers from the case rear. Press the GPU into the PCIe x16 slot (usually the top full-length slot) until it clicks. Secure it with screws to the case rear. Connect PCIe power cables.
Step 11: Final check before powering on
- All power cables connected?
- RAM seated and clicked?
- All storage connected?
- CPU cooler fan plugged into CPU_FAN header?
- No loose screws inside the case?
First Boot and BIOS Setup
Press the power button and look for the BIOS/UEFI screen (usually a press-DEL or F2 splash). In BIOS, check:
- All components detected — verify CPU, RAM capacity, and SSD appear correctly.
- Enable XMP/EXPO — RAM ships at JEDEC default speed (usually DDR4-2133 or DDR5-4800), not its advertised speed. Find "XMP" or "EXPO" in BIOS and enable it to get your rated DDR4-3600 or DDR5-6000 speed.
- Boot order — set USB drive first for OS installation.
Install Windows from a USB drive (download the Media Creation Tool from Microsoft's site on another PC, create a bootable USB). After Windows is installed, install GPU drivers from AMD or NVIDIA's website directly — don't rely on Device Manager's suggested drivers.
Common First-Build Mistakes
- Forgetting the 8-pin CPU power connector — the PC won't boot, and the error looks mysterious. It's almost always this.
- Installing RAM in the wrong slots — A1+B1 instead of A2+B2 disables dual-channel mode. Check your manual.
- Not enabling XMP/EXPO — your RAM runs at half speed until you do this.
- GPU not fully seated — press harder until the PCIe retention clip clicks.
- Forgetting standoffs — the motherboard contacts the case directly without them, causing a short.
- Not activating Windows — a fresh install needs a license key, or you can link to a Microsoft account with an existing digital license.
Frequently Asked Questions
Do I need to buy Windows separately? Windows 11 Home costs ~$99 for a retail key. You can also link to a digital license tied to a Microsoft account if you've previously activated on hardware. Don't use sketchy key sites — they resell OEM volume licenses that Microsoft reserves the right to deactivate.
Should I overclock? Not for a first build. Enable XMP/EXPO for RAM speed, but leave GPU and CPU at stock frequencies. Stability matters more than a 5% OC gain.
What if the PC doesn't boot? Step through this list: Is the 8-pin CPU cable connected? Is RAM in the correct dual-channel slots? Is the GPU power connected? Are the front-panel power button headers connected to the right pins? Is the GPU seated completely?
Prefer to have someone else handle the build? Our custom gaming PC build service covers parts sourcing, assembly, cable management, Windows install, and testing.
Marcus Webb
Hands-on PC builder and gaming hardware writer at GameInfoZone. Focused on practical, no-hype advice for everyday gamers.
Need Help With Your Gaming Setup?
From custom builds to fixing low FPS and lag, our techs can help you get the most out of your gaming PC.
Request Gaming PC HelpGet Gaming Deals & Setup Tips
Join the GameInfoZone newsletter for gaming gear deals, PC build tips, and performance guides.
Related Articles
Best Prebuilt Gaming PC Under $1,000
What to look for in a prebuilt gaming PC under $1,000, and which spec combinations actually deliver good value.
Best Budget Gaming PC Build
A practical budget gaming PC build approach that balances price and performance for 1080p gaming.